
Sewing a Simple Quilt
What you will need
- Fabric of your choice - the amount will depend on how big you're intending to make your quilt. If you're using traditional quilt squares they are around 9.5" squared. I bought around 3 yards of fabric for a baby crib quilt. Whatever you use for the front you need the same amount for the back (if you are planning on using this fabric as your finished edges then you need to make sure the fabric is a few inches longer and wider than your front piece because you will be flipping it up over the front. NB: If your item is something that might get washed occasionally make sure you pre-wash your fabrics.
- Sewing machine, obviously :)
- Matching thread
- Fabric scissors
- Iron
- Pins
- Thick ribbon (optional)
- Batting - thickness if up to you, mine was a little too thick!
- Fabric adhesive spray
Instructions
Cut your fabrics using a square quilt ruler (around 9.5") or cut by hand but be precise.


Iron out the flaps that you've just sewn. this is very important to reduce the bulk in the quilt.

Continue until you have one row of squares done.


Lay your rows out flat in the order you want the quilt to look.

Flip the second row up over the first row so patterns are touching.
Continue for the other rows, flipping every second row.

Sew a 1/2" seam allowance along the top of the rows.
Iron flat the flaps you've just sewn. Repeat for all the rows.


Now join the larger pieces together in a similar way by flipping up the second piece onto the first, patterns facing each other, and sewing a 1/2" seam allowance, then ironing down the flaps.
Repeat for however many more pieces you have.

Now you have the top part of your quilt! Place it on your batting and cut to shape.
If you are using one solid piece of fabric (which is the best way), then cut that to size too. If you are using quilting squares then repeat all the steps above until you have the top and bottom of your quilt. I did this just out of necessity to use up old material.
Once you have your quilt fabric on the batting smoothed out spray the fabric adhesive on the under side of the fabric (non-patterned side) and lay flat on the batting, smoothing out any wrinkles. I usually do one half of the fabric at a time as shown below.
Repeat for back of quilt.

Now you're ready to sew the quilt together with the batting! With your front fabric facing up as your guide, sew carefully down each line, the line that connects the fabric squares, from one end to the other.
repeat for all lines down, then all lines across.

Once this is done you are ready for your sides, you can trim extra batting if you like.

I used a large ribbon (3" wide) but if you see the quilt at the bottom of the post I used just fabric. If using fabric, as mentioned at the top, you will just have a longer and wider bottom piece of fabric (by about 3-4"). In this case you will just fold the pieces twice (like a hem) and flip over the front, you can iron them first to keep the fold.
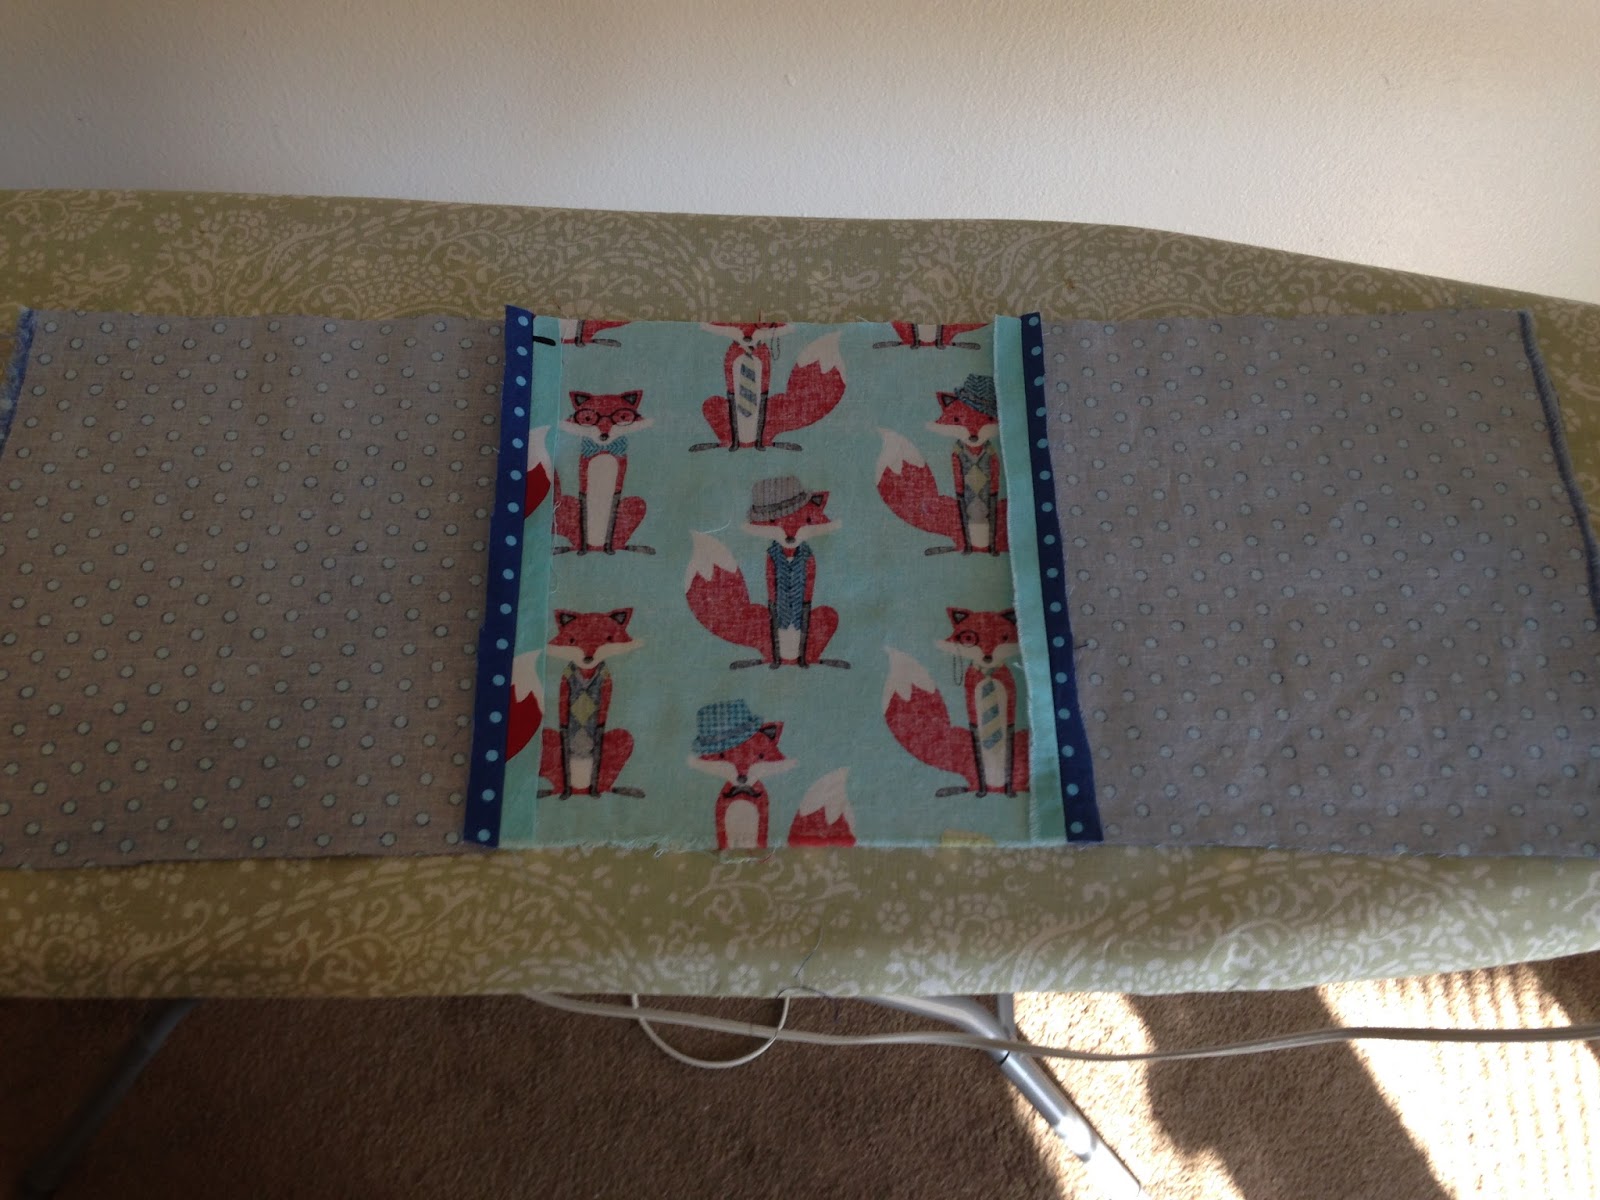
In my case I used a 3" wide ribbon and ironed them in half so they were even. Then I sprayed the inside of the ribbon with adhesive, pinned it down and sewed the two long sides. For the small edges I sewed the ends into points and then sewed the ribbon over the top of the other ribbon at the corners.

I didn't mean to have that many rows of stitches but I messed up the first side (by not ironing them in half!!) and so had to match the other sides :/

Finished quilt!

This was only my second quilt. The first one made was a throw for the couch...


No comments:
Post a Comment
Feel free to message me!